I'm now working on the 3rd version of my Iron Man armor, coincidentally also an IM MkIII. This one's largely based on 3D printing, using files designed by Jace, DaDave, Zephy and Kelandrum, along with some of my own customized parts. I also built a custom arc reactor, and some electro-mechanics (not the helmet, yet).
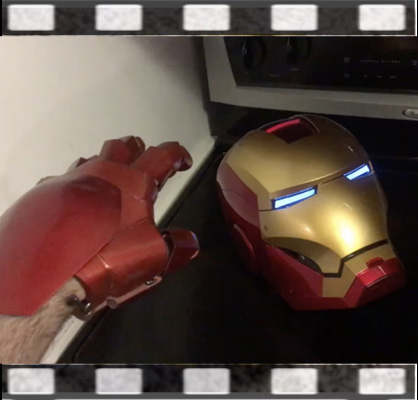
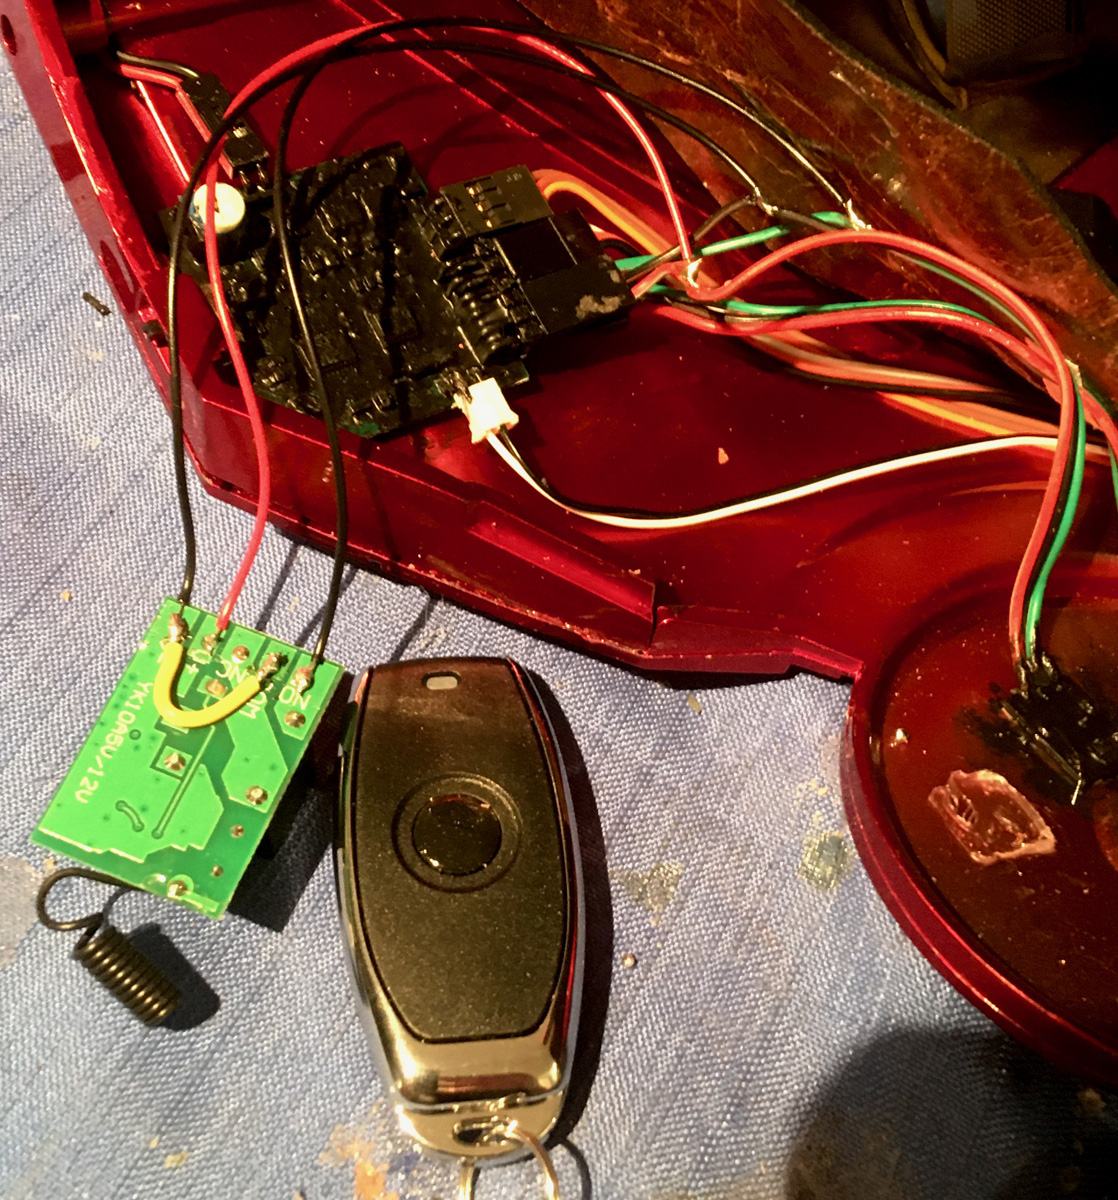
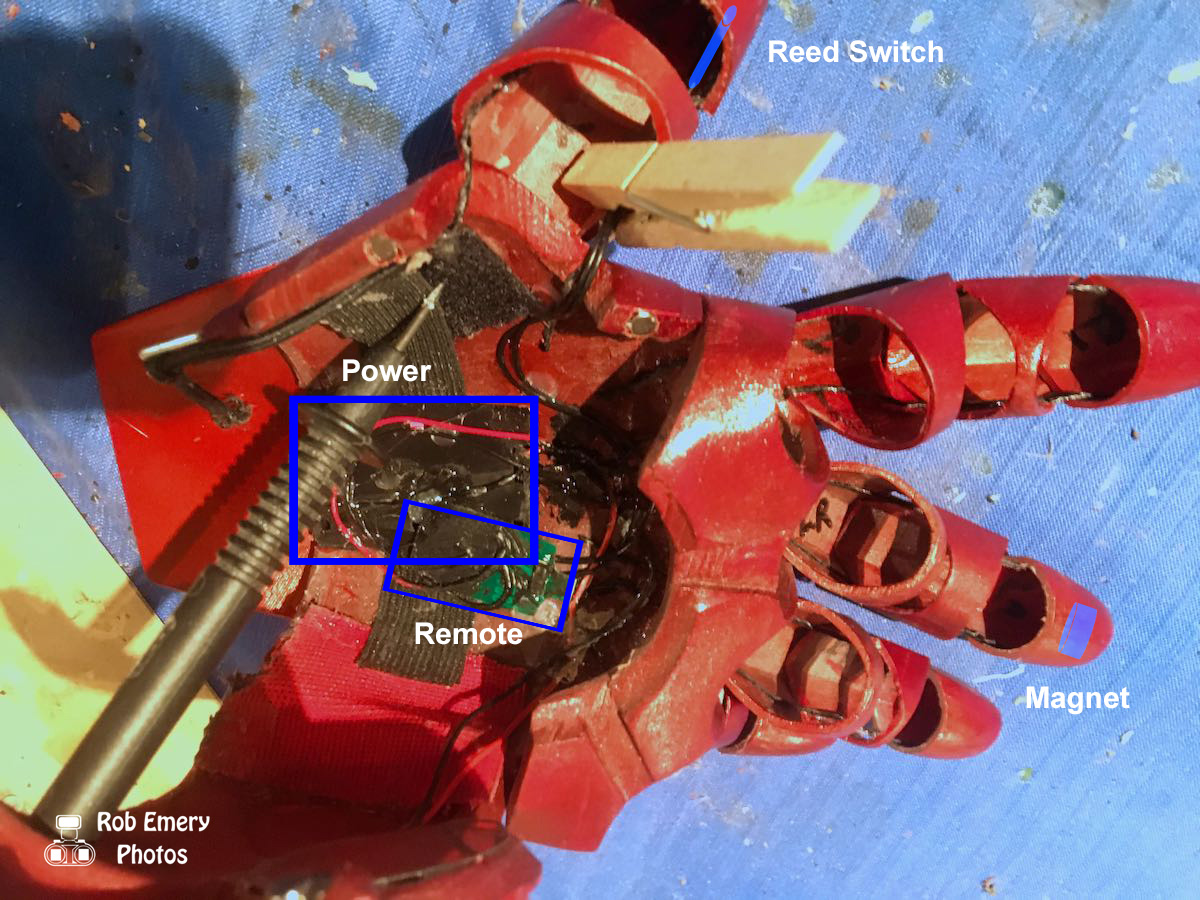
For quicker construction, I'm starting with a Mk3 helmet from Roan X Toys. To make the faceplace operational while wearing the costume (as the elbows don't bend enough to use the magnetic ring), I patched a remote control relay into the helmet and integrated the switch into the 3D printed glove. This makes it easier to put on and remove the helmet and gloves without having to deal with wires or connectors. The patch to the helmet is easy to do by soldering to (or using a Y-splitter on) the ear sensor as shown in the picture. It just requires a momentary short of the sense line to ground. On the glove side, a magnet and reed switch are used to replace the action of the remote button, which feeds off the palm repulsor's power source.
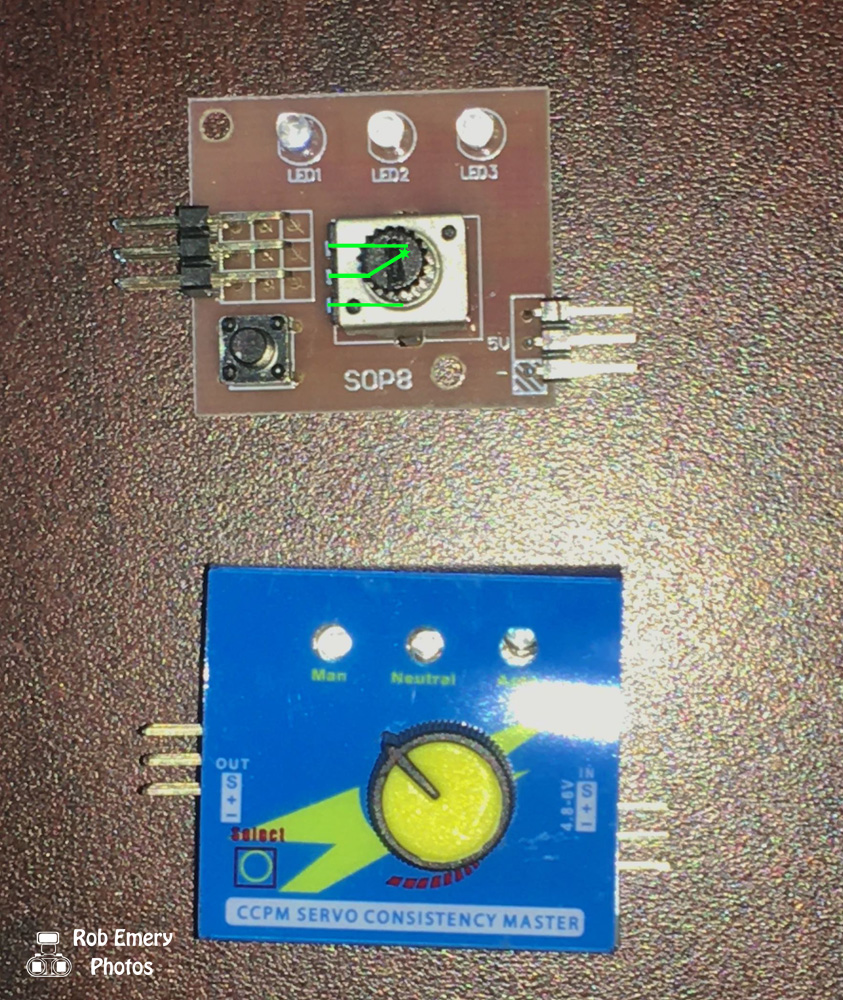
I made a similar remote control relay for the back flaps with a magnet and reed switch on the other glove. To activate the servo, I'm using a servo tester, hotwired for full travel by removing the potentiometer (yellow knob) with a dremel and soldering the relay's switch to the exposed leads (green).

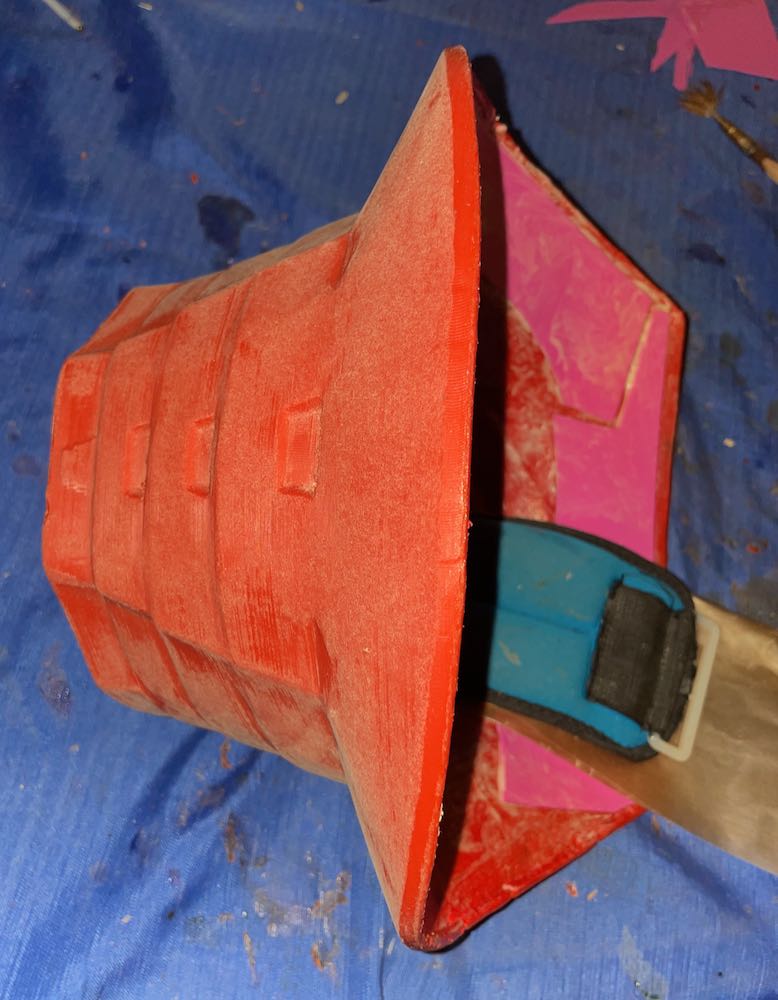
The Roan X helmet is difficult to assemble, and nearly impossible to do one-handed (as may be needed while wearing the costume) so I modified it. I trimmed back the interlocking tabs near the ear caps, so it only takes a small pinch/push on the back of the neck piece to put it into place. Meanwhile, it's held and guided to roughly to the right spot with a hidden hinge (barrel, 12mm dia), that fits into a 3D-printed plastic insert. I also smoothed a few bits at the bottom to make it easier for my head to fit through once the front portion of the neck piece was cut off and glued to the helmet (this allows the rest to swing freely). The extra trimming between the ear and the inserts was for another idea, but might also help making the pinching easier.

I made my own flexible neck piece out of latex, starting with a 3D printed mold, and then adding in latex layers with some fillers in between for stiffness/strength and red dye for the outer layers. I liked the string filler the best, as the foam filler caused the latex to pull away from the mold shape when released, wherease the string held the shape better.
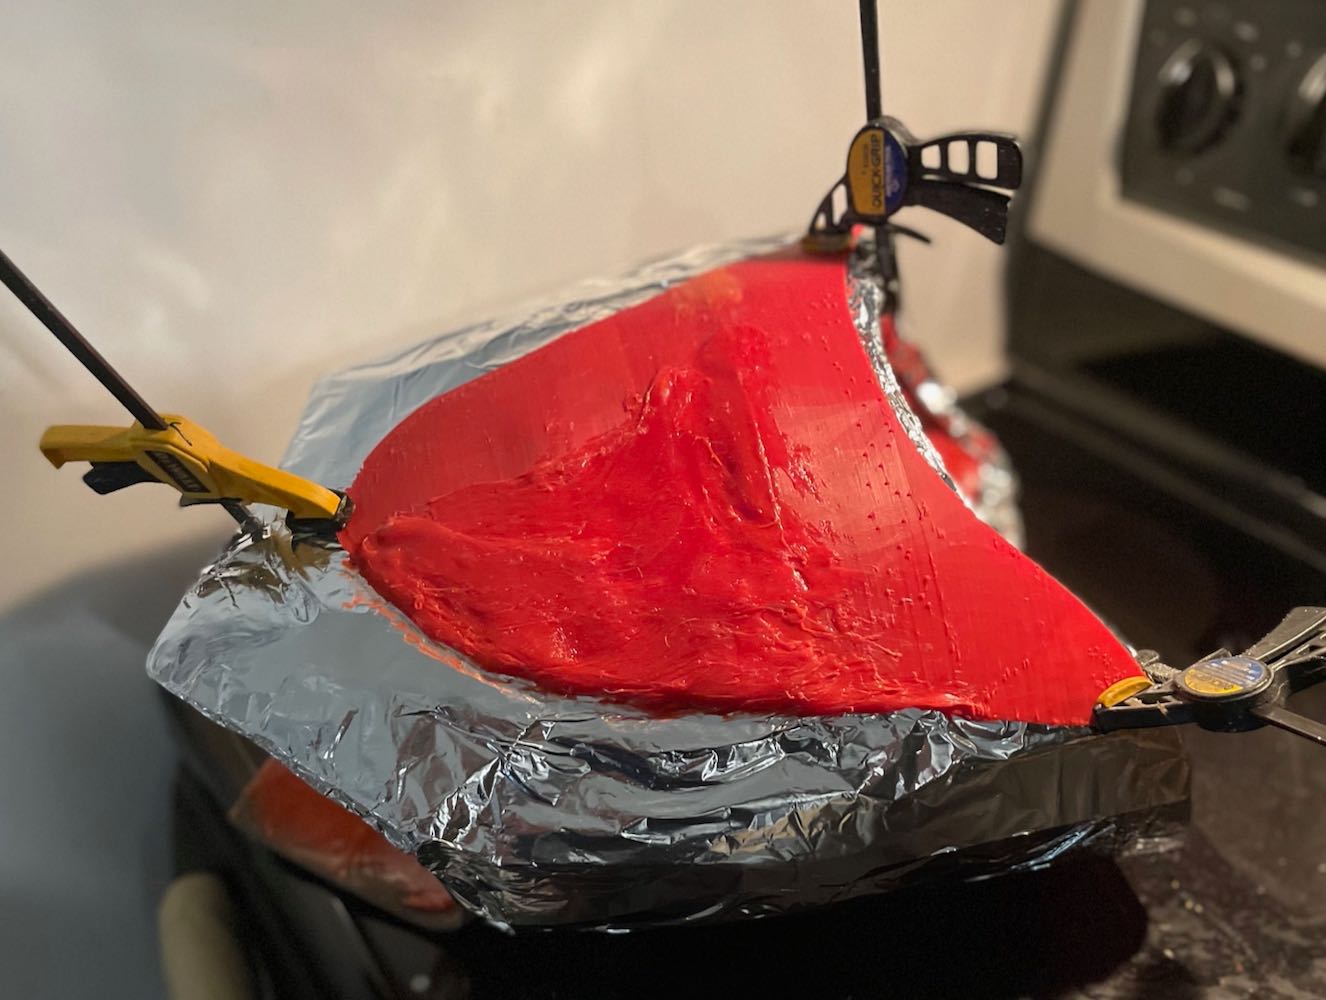
One of the nice things about 3D printing with ABS is that you can use all the leftovers (bad prints & support pieces) to create a slurry, by adding acetone. The slurry can be used as a glue during construction, but also as a gap-filler or even making custom parts. The model I was using didn't have the proper shape inner thigh armor, so I modified it into a custom piece using ABS slurry. By covering the main part of the thigh piece with aluminum foil, I was able to smear the slurry on it, to add to the inner thigh piece in the rough shape I wanted. When it cured, it was sanded into the proper shape. ABS slurry parts can be sanded and heat-formed (for tighter fit) but not as cleanly as fresh ABS due to trapped air/solvent, but it's easy to refinish them with a little more slurry (more durable) or wood-filler (faster sanding) before the final sanding and painting.
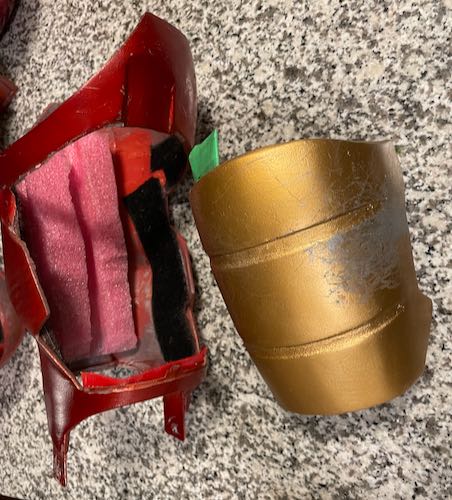
To handle repainting needs, for whenever the armor gets scuffed up, I split multicoloured sections of armor like the biceps into separate pieces. Some pieces are held in place with velcro, others with bolts and some with just magnets, but all can come apart for easier painting by colour with less need for careful masking. The gap in the bicep piece makes it more brittle, but also lighter than the red armor plate over gold armor plate construction used in the thighs.
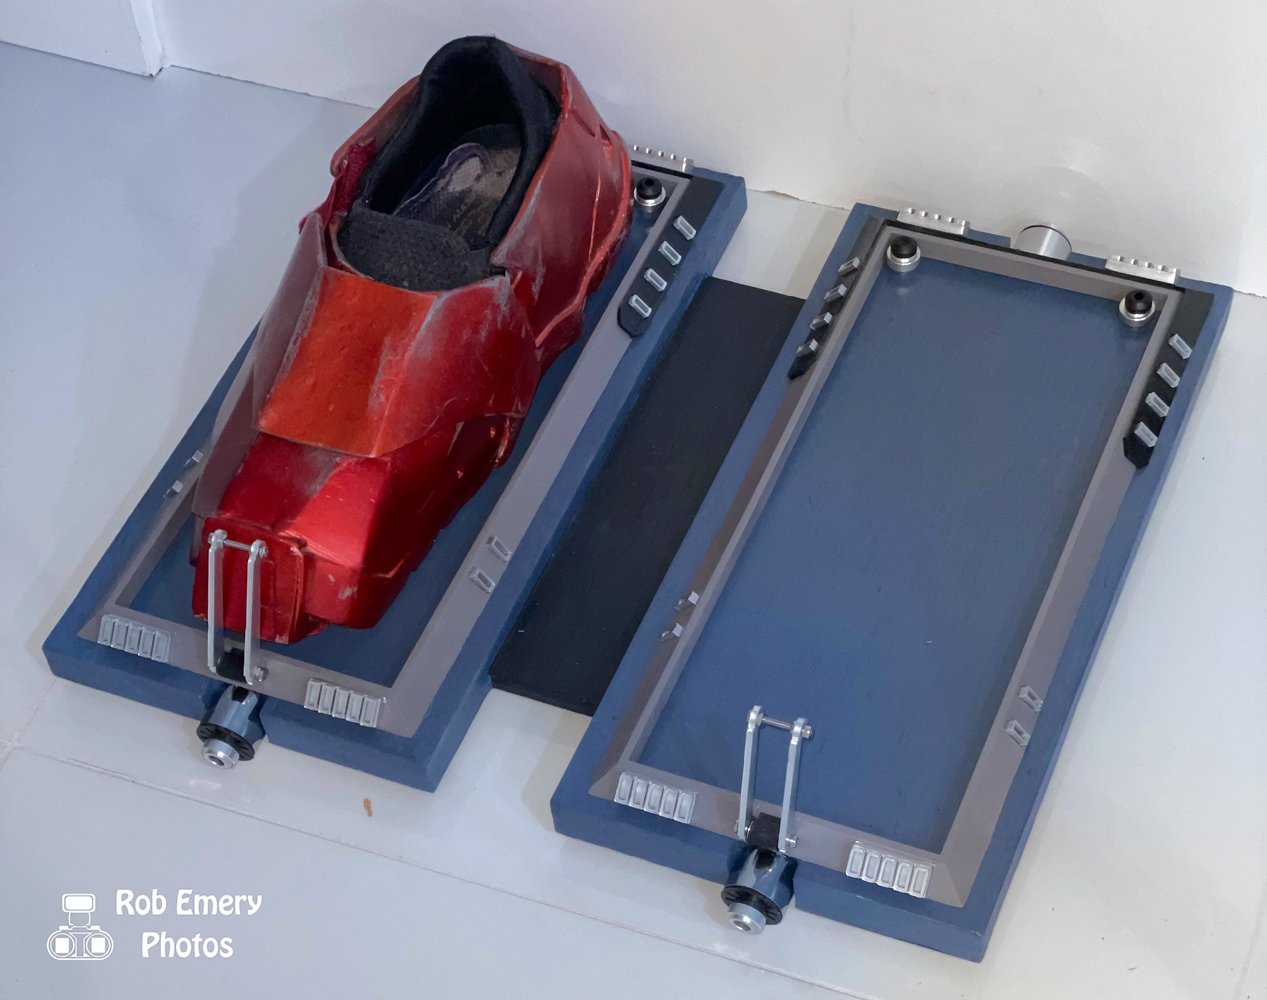
For displaying the armor, I made a stand out of a mannequin torso and metal and plastic tubing, with 3d printed pieces and wooden hands for articulation. I made a new base for it in the Stark lab look, using a wood base with 3d printed decoration and random greebles leftover from other projects.
 All images copyright Rob Emery